Overview
The wizard is the starting point for every Marrly card. It walks you through the important information step by step so the card is ready for activation after payment.
Quick Facts
Best used when
Use this article when you are creating a new card from Dashboard or when you need to explain the wizard flow to someone else on the team.
Menu path
Dashboard > Create card
Estimated time
5 min read
Before You Begin
- Prepare the couple names, honorifics, and wedding date.
- Decide up front whether you need a website card or a flat card.
Steps
- 1
Enter the couple details
Fill in the names, titles, and wedding date because this core data is reused across several parts of the card.
- 2
Choose the card type
Pick a website card if you need multiple sections and guest-facing features. Pick a flat card if you only need a single image invite.
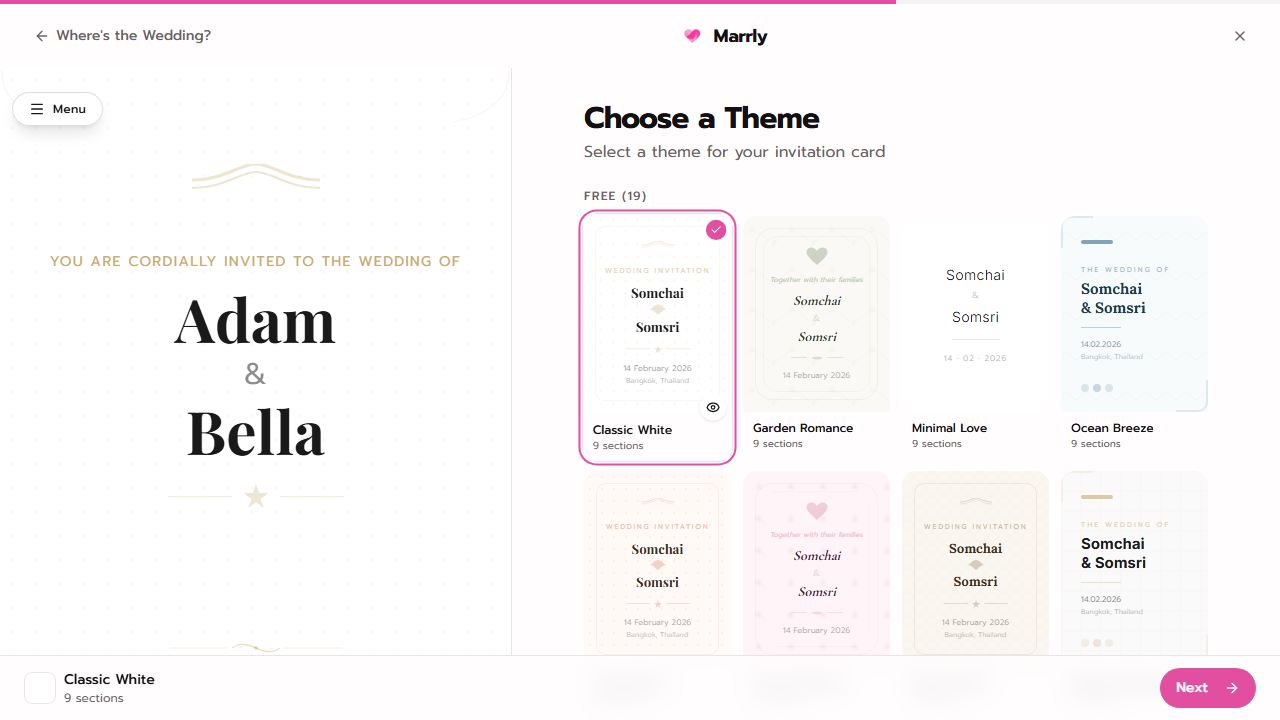
- 3
Add venue details and choose a theme
Enter the venue name and address, then select the closest-fit theme so you reduce later editing work.
Notes
Common Mistakes
Result
You complete the initial creation flow and are ready to move to package selection.