Overview
A wedding website card starts at the overview page and then branches into edit tabs, RSVP, blessings, stats, and add-ons. The flow is much easier when you check status at the overview first and then move into detailed editing tab by tab.
Quick Facts
Best used when
Use this article when you want the full map of website-card menus and need to decide whether a task should start from overview, edit, or another management menu.
Menu path
Dashboard > Select website card > Overview / Edit / RSVP / Blessings / Stats / Add-ons
Estimated time
6 min read
Before You Begin
- Have a paid website card ready so every management menu is visible.
- If you will edit real content, prepare the names, date, venue, photos, music, and copy before you start.
Steps
- 1
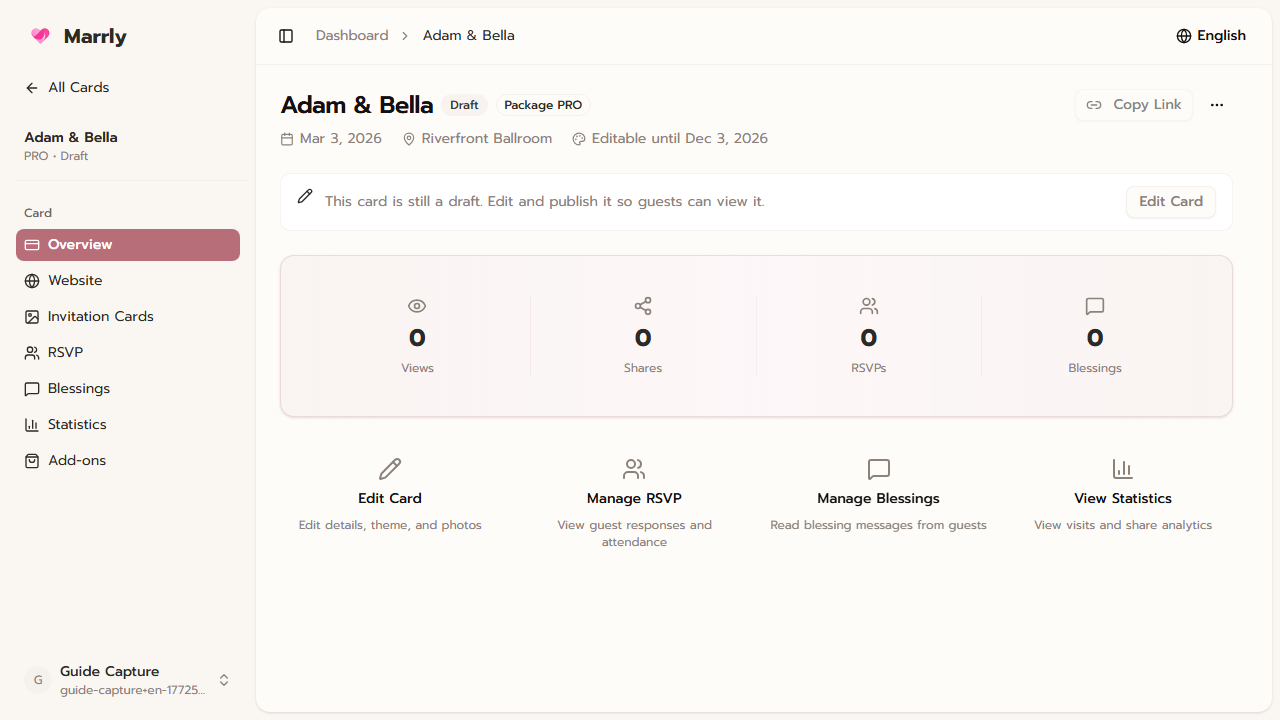
Start from the card overview page
Use overview to check the card status, active package, wedding date, venue, and key actions such as copying the link, opening the public page, or entering edit mode.
Website card overview example
- 2
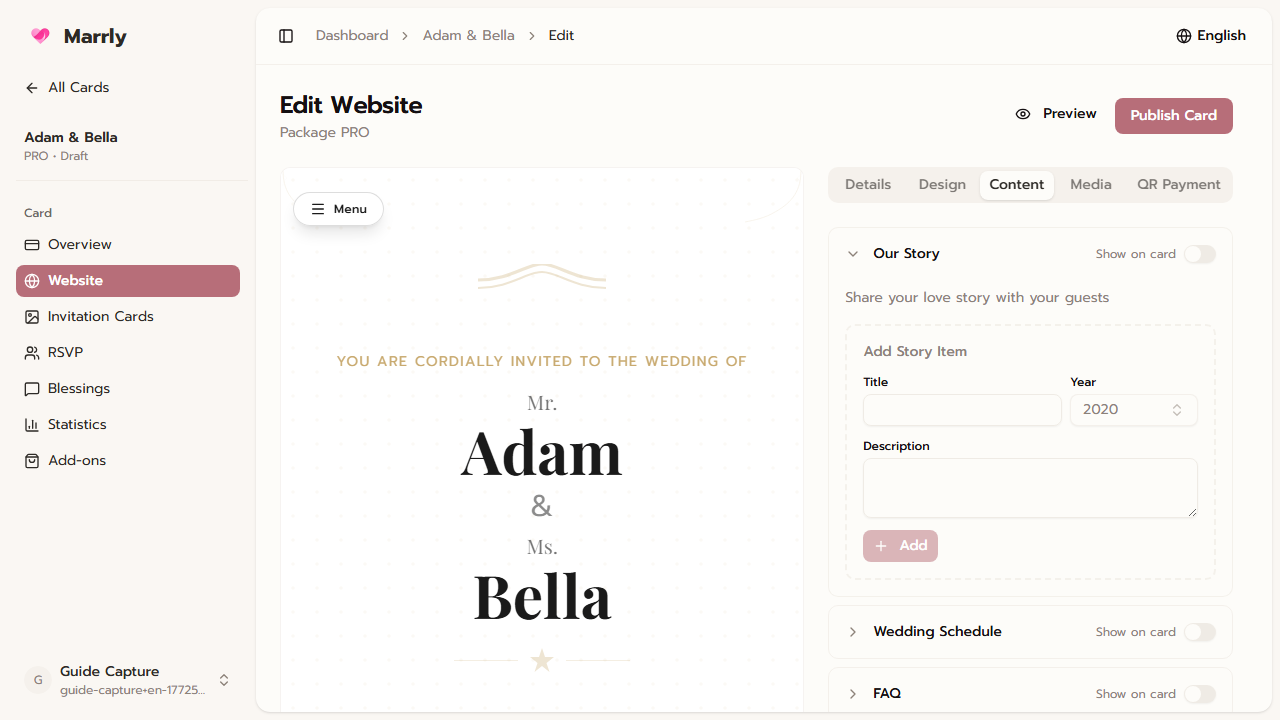
Use the edit page for deeper changes
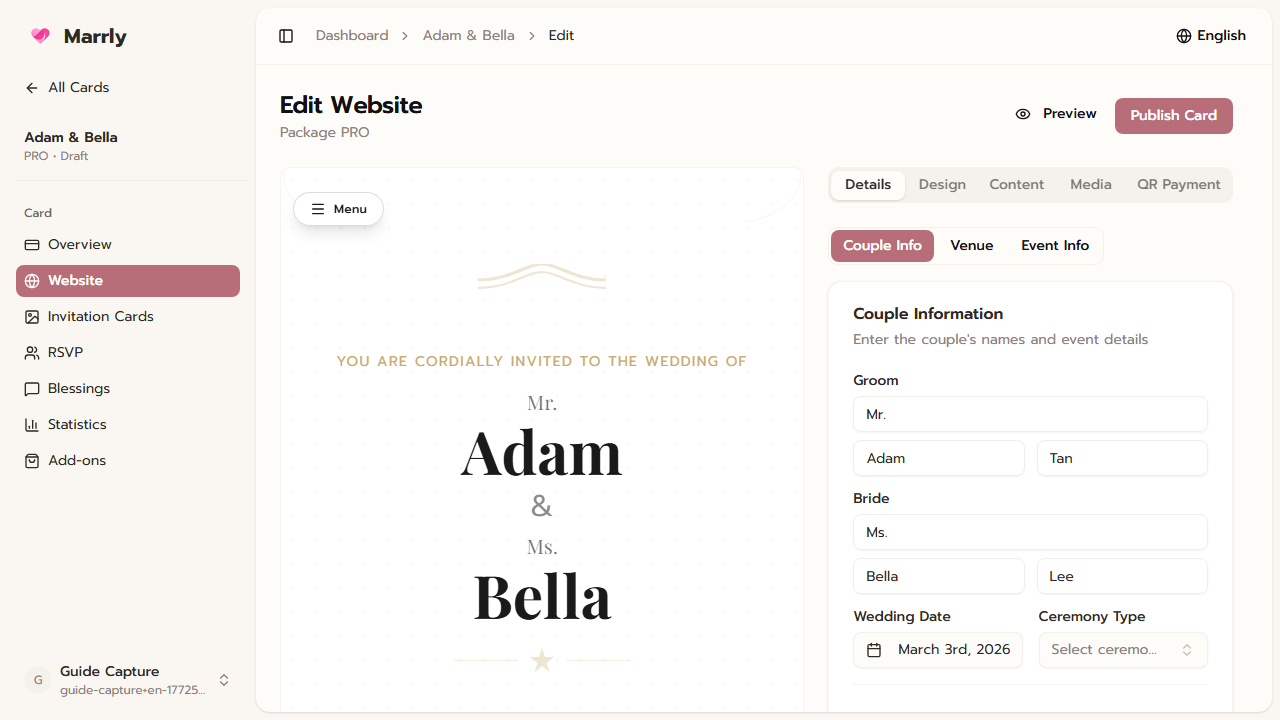
The edit screen separates work into Details, Design, Content, Media, and QR Payment so you can manage structure, styling, content, and assets in one area.
Details tab example
- 3
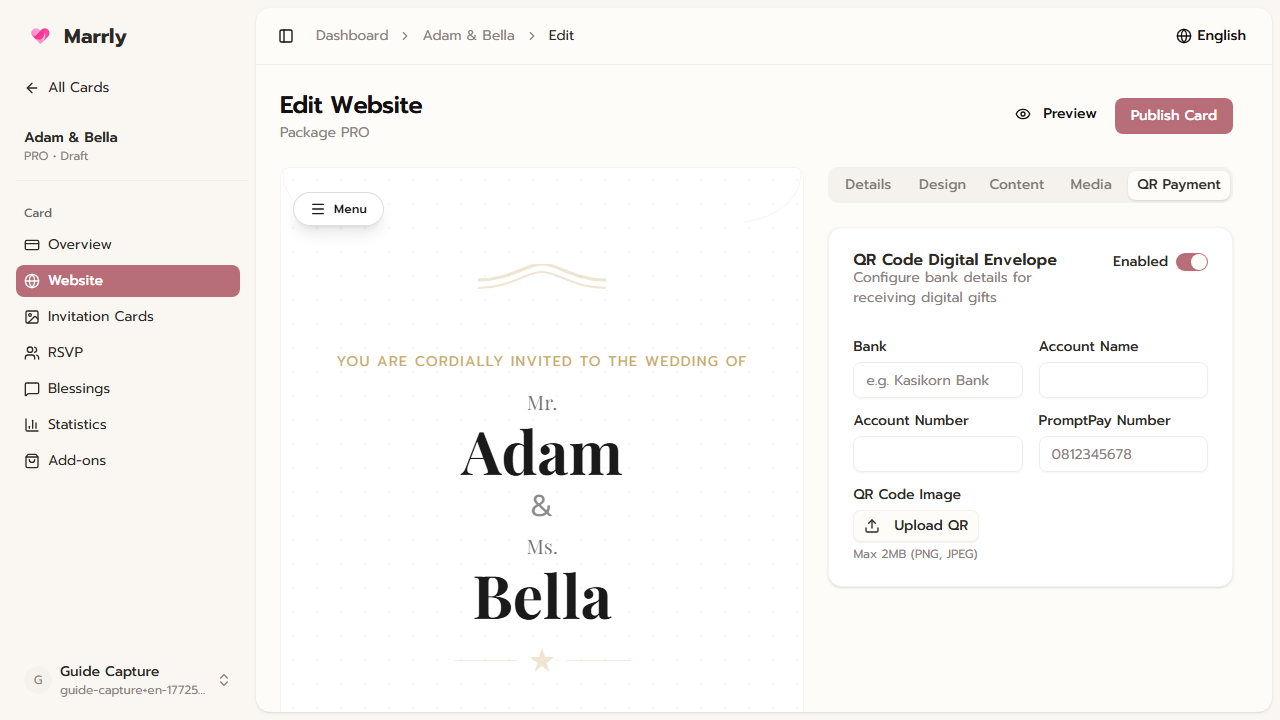
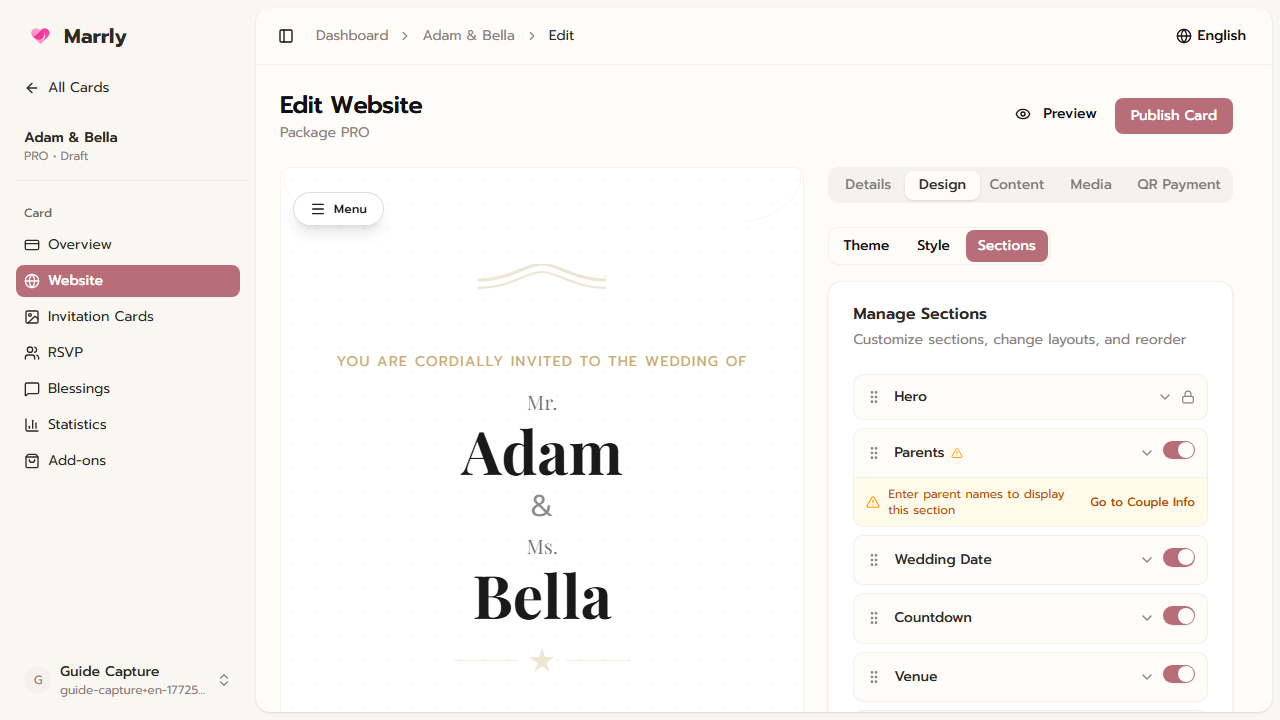
Review preview and package rights before sharing
Before sending the link to guests, check the preview, publication status, and whether needed features such as QR gifting or stats are already enabled.
Design tab example
- 4
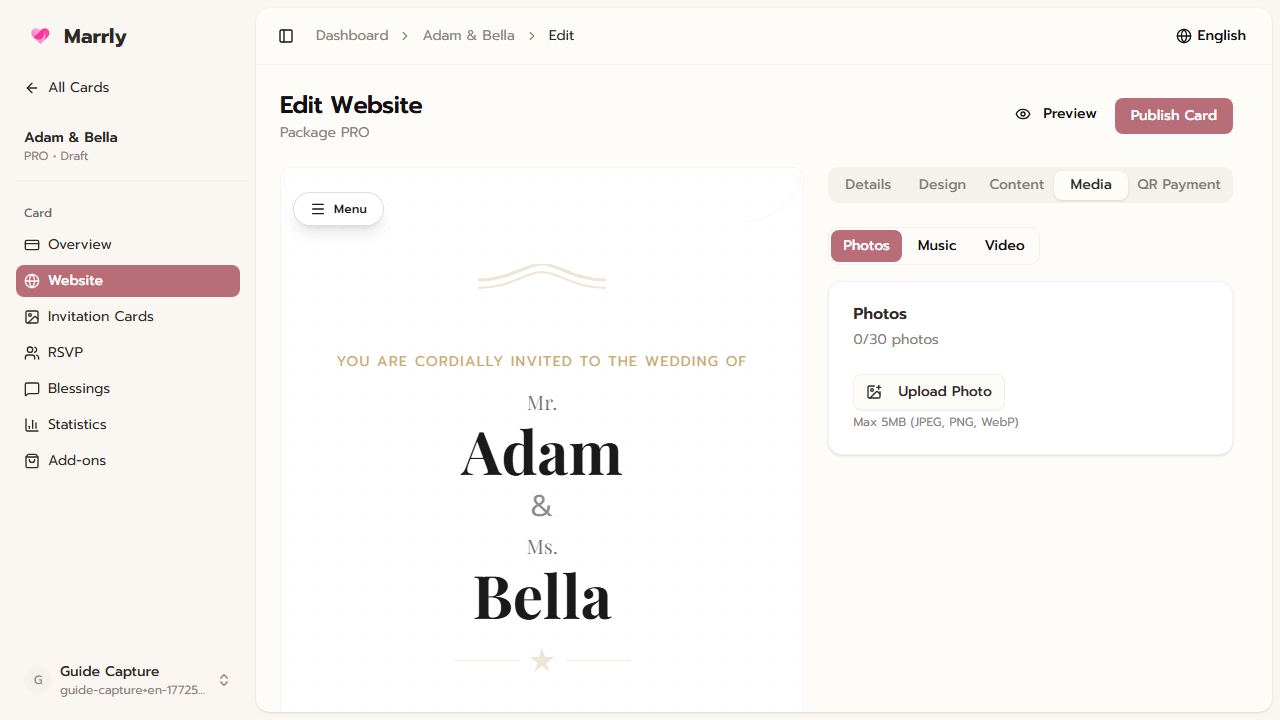
Use the surrounding menus for the right job
Go to RSVP when the task is guest tracking, blessings when it is guest messages, stats when you need engagement numbers, and add-ons when you need extra features.
Media tab example
Notes
Common Mistakes
Result
You understand the full website-card management flow and know which menu fits each type of task.